How to Install Luxury Vinyl Plank Flooring: A Step-by-Step DIY Guide
Table of Contents
Want new floors without paying for an installer? You can do it yourself.
Installing luxury vinyl plank flooring is one of the easiest DIY projects out there. No special tools. No pro skills. Just a smooth surface, some basic gear, and a little time.
In this guide, you’ll learn how to:
- Prep your floor the right way
- Pick the best install method
- Lay your first row of vinyl plank flooring
- Cut planks to fit tight spots
- Avoid mistakes that cost time and money
- Finish with a clean, pro look
This is a full, no-stress walkthrough made for real people. If you’re ready to take on a rewarding DIY project, let’s get started.
Can I Install Luxury Vinyl Plank Flooring Myself?
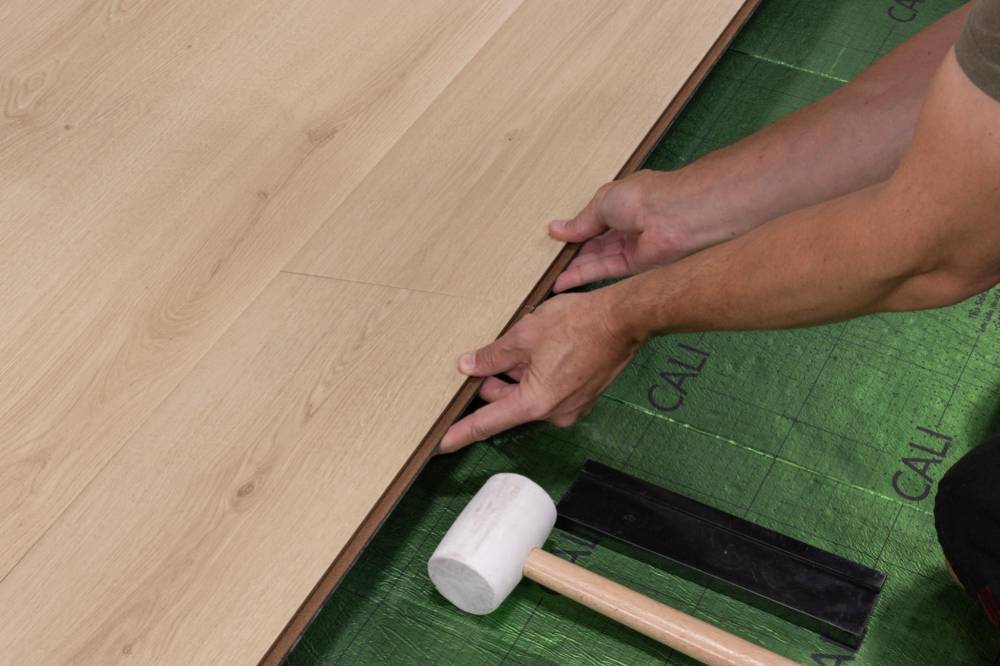
Yes, you can install luxury vinyl plank flooring on your own.
This flooring is made for DIY projects. The planks are easy to work with and snap or glue into place. You do not need special tools or any training to get started.
It works well in most rooms. You can use it in bedrooms, living rooms, hallways, or even bathrooms. If you follow the steps and stay patient, you can get a clean, finished floor that looks like it was done by a pro.
You just need a flat surface, some tools, and a good plan. We will walk you through the process so you can get the job done right.
You can do this.
Tools and Materials You’ll Need to Install Vinyl Plank Flooring
Before you start, gather the tools you need. Having everything ready will save you time and help the install go smoother.
Basic tools:
- Utility knife or vinyl cutter
- Tape measure
- Straight edge or T-square
- Spacers (¼ inch)
- Rubber mallet
- Tapping block
- Pencil
- Level
- Knee pads

Optional but helpful:
- Jigsaw or multi-tool (for corners and door frames)
- Pull bar (for tight spots)
- Underlayment (only if your planks don’t have one built in)
Pro tip: Read the instructions that come with your vinyl planks. Some have built-in underlayment. Others may need a separate layer depending on your subfloor.
Once your tools are ready, you're one step closer to installing luxury vinyl plank flooring the right way.
Step 1: Prep Your Subfloor Like a Pro

Before installing, make sure your subfloor is clean, flat, and ready. This step sets the foundation for a smooth install and a long-lasting floor.
Here’s what to do:
- Move out all furniture and remove any old flooring if needed.
- Take off the baseboards using a pry bar or multi-tool. Save them if you plan to reuse them.
- Sweep and vacuum the entire area to remove dirt and dust.
- Check if the subfloor is level. Use a straightedge to find dips or high spots. Fill low areas with patching compound. Sand down any bumps.
- Let your luxury vinyl planks sit in the room for 24 to 48 hours. This helps them adjust to the space.
- Add underlayment if your product needs it. Some planks have padding built in. Others may need a separate layer, especially on concrete.
✅ Quick tip: A well-prepped subfloor helps avoid problems like lifted edges, gaps, or uneven rows later on.
Now that your surface is ready, it’s time to plan your layout and start placing planks.
Where Do You Start When Installing Luxury Vinyl Plank Flooring?
Getting the first row right is a big deal. If you start off crooked, the whole floor can end up out of line. Take a few minutes to plan your layout before you begin.
Here’s what to do:
- Pick the longest, straightest wall in the room. This gives you a clean edge to follow.
- Measure the width of the room and divide it by the width of one plank. This shows you how wide your last row will be.
- If the last row would be too skinny, trim the first row to make it more even.
- Use spacers between the wall and your first plank. Leave a ¼ inch gap for expansion.
- Dry lay a full row without locking anything in. This helps you check the fit and spacing before you start.
Pro tip: If you’re unsure where to start, lay your first row along the wall that gets the most light. It helps hide small gaps or seams.
Once that first line is set, you're ready to begin installing LVP flooring the right way.
Now that your starting line is set, it’s time to lay some planks.
Step 2: Choose Your Installation Method
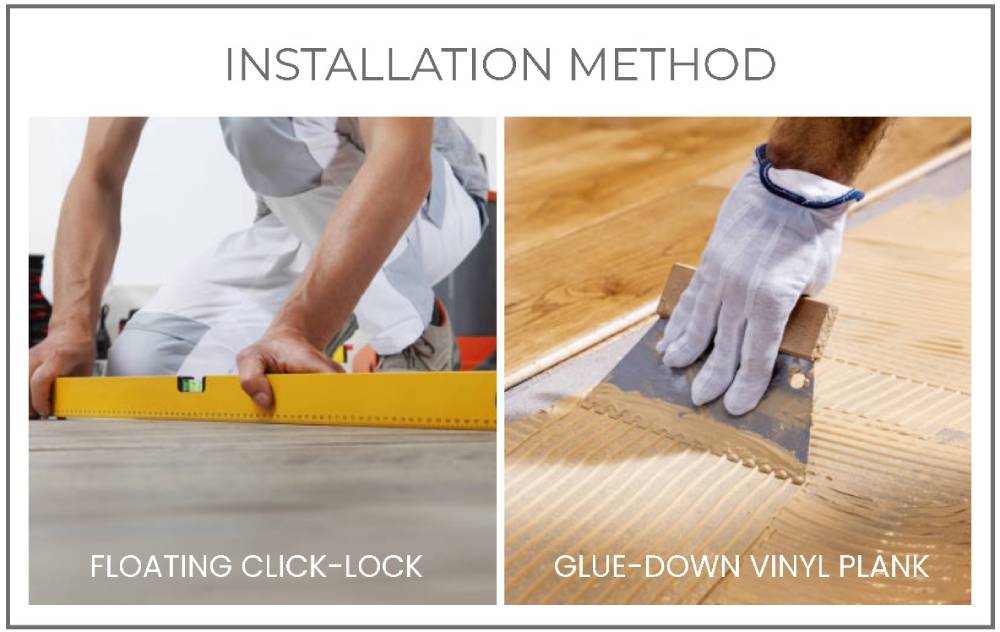
There’s more than one way to install luxury vinyl plank flooring. The best method depends on the type of plank you buy, your subfloor, and how permanent you want the floor to be.
Here are the main options:
- Floating click-lock
This is the most common DIY method. Each plank has a tongue-and-groove edge that locks into the next. No glue or nails needed. Just angle, click, and press it into place. It’s fast, clean, and easy to replace later. - Glue-down vinyl plank
This method is more permanent. You spread adhesive on the subfloor and press each plank into place. Then use a floor roller to lock it down and smooth out air bubbles. It takes more time but gives a solid feel underfoot.
✅ Quick tip: Always read the instructions that come with your planks. Each type of vinyl plank may have different rules for how it should be installed.
Is it better to glue or float vinyl plank flooring?
Floating is easier and better for most DIY installs. It’s quicker and doesn’t require extra tools.
Glue-down is stronger and more stable, especially in busy areas. It works well in places with lots of foot traffic.
Whichever you choose, the steps ahead will still apply. Just follow your layout and stay consistent.
Step 3: Cutting Vinyl Planks to Fit
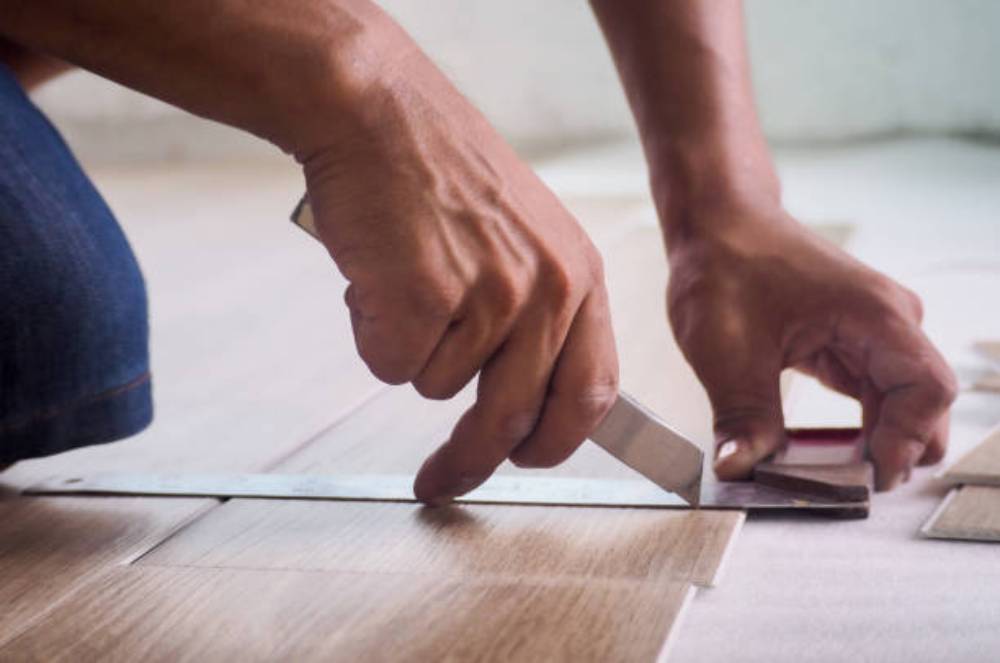
At some point, a full vinyl plank won’t fit. It could be at the end of a row, near a wall, or around a door. No need to stress. Cutting planks is simple once you get the hang of it.
Here’s how to cut vinyl flooring the right way:
- Mark your cut line with a pencil and a straight edge
- Use a utility knife to score the top of the plank
- Bend it along the cut until it snaps clean
This works well for straight cuts and keeps your install moving fast. Just make sure to score deep enough the first time.
For curves or tight corners:
- Use a jigsaw or oscillating tool
- These work great around door frames, vents, or toilets
Always measure twice before you cut. Once you cut the plank to fit, there’s no going back.
If you're in a tight spot, like up against a wall, use a pull bar to lock in the last piece. You’ll also use these cutting steps when you reach the last row of vinyl plank flooring.
✅ Quick tip: Keep your utility knife sharp. A clean cut makes the job easier and gives you better results.
What Not to Do When Installing Vinyl Plank Flooring

Installing luxury vinyl plank flooring is pretty straightforward, but there are a few common mistakes that can mess things up fast.
Here’s what to avoid:
- Skipping subfloor prep
If your subfloor isn’t flat or clean, your planks won’t sit right. You may get soft spots or loose gaps. Always level and clean the floor before you begin. - Forgetting expansion gaps
Your vinyl plank floor needs space to expand. Without a ¼ inch gap around the edges, the planks might lift or shift over time. - Laying the first row without a layout
If you don’t plan ahead, your last row could end up too narrow. Measure the space and balance your layout before you start installing vinyl plank flooring. - Not staggering seams
Line up your seams the right way. Aim to stagger them by 6 to 8 inches. A solid plank pattern adds strength and looks better. - Rushing your cuts
Take your time when you cut the plank. Clean, straight cuts give you tight seams. Sloppy cuts can leave gaps that ruin the look. - Using the wrong tools
Don’t force planks in with a hammer or your foot. Use a tapping block, mallet, and the right cutter to protect your flooring.
⚠️ Mistake to avoid: Skipping prep or rushing through cuts can turn an easy job into a frustrating one. Follow each step and check your work as you go.
Doing it right means less stress and better results. Take your time and make each row count.
Step 4: Finishing the Job
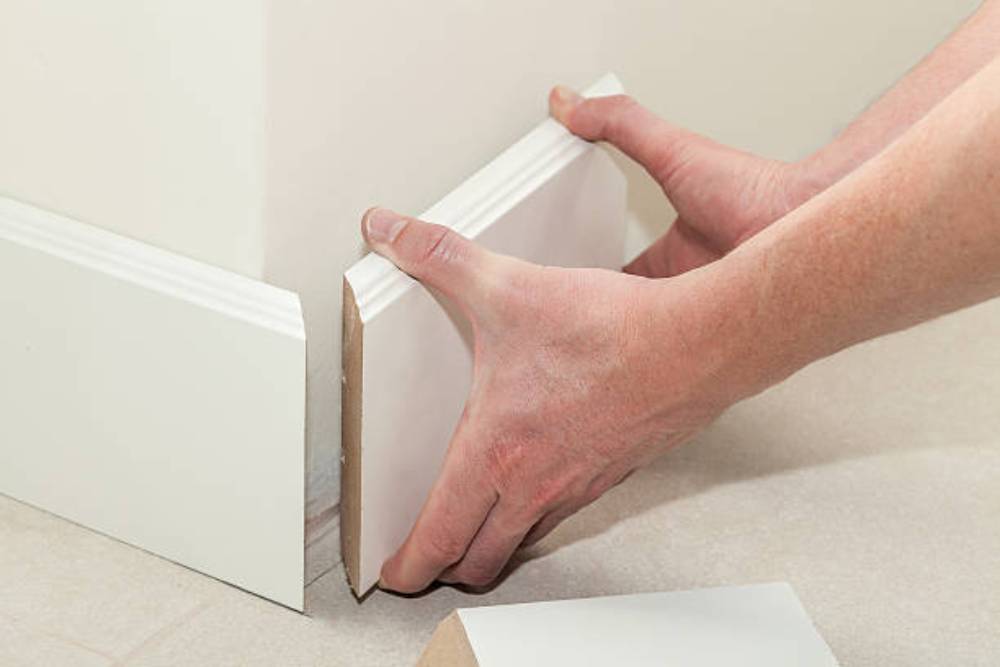
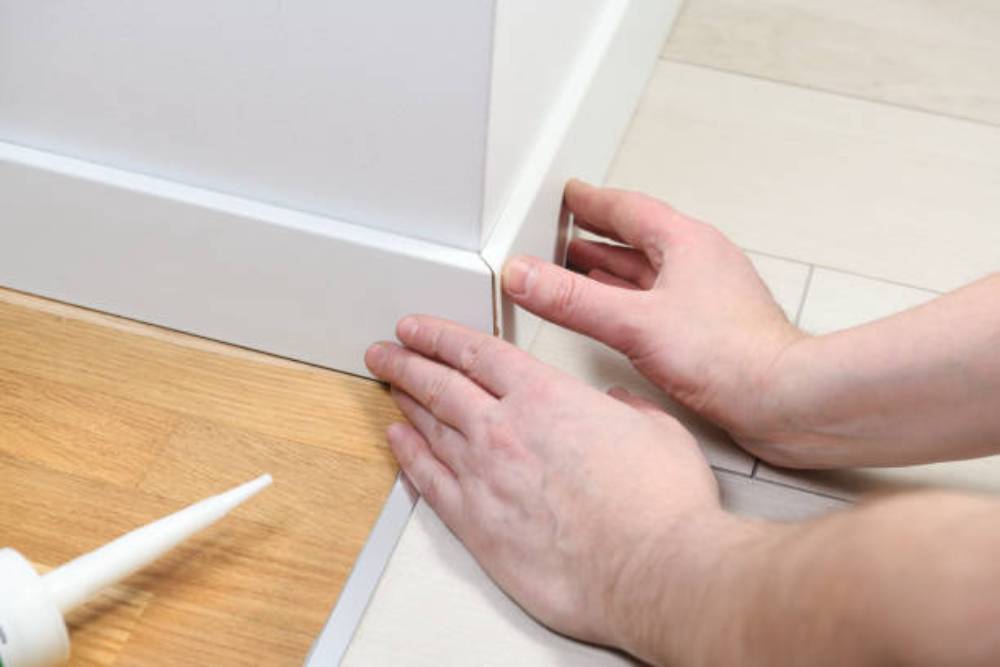
You’ve placed every row of planks, made your cuts, and snapped in the last piece. Now it’s time to finish strong.
Here’s how to wrap up your vinyl plank floor the right way:
- Reinstall your baseboards. Nail them into the wall, not the floor. This keeps the planks free to shift if needed.
- Add quarter-round trim if the baseboards don’t cover the expansion gap. It makes the floor look finished and clean.
- In areas like bathrooms or kitchens, use a thin line of flexible caulk along the wall. This helps seal out moisture and smooths the edge.
- Wipe down the floor with a damp mop or cloth. Don’t use too much water. Waterproof vinyl plank flooring is strong, but it’s best to keep it dry.
- Do a final walk-through. Look for loose planks, small gaps, or raised edges. Tap or adjust anything that looks off.
✅ Quick tip: A clean finish makes all the difference. Trim, caulk, and inspect before calling it done.
Now your install is complete and your floor looks great.
Conclusion

You did it. No installers, no extra costs, and no stress.
Installing luxury vinyl plank flooring is one of the best home upgrades you can do yourself. It’s simple, clean, and gives you a strong, modern surface that works in any room.
You learned how to prep your subfloor, plan your layout, cut vinyl flooring, and finish it right. You also avoided common mistakes that can ruin a good install.
Now you’ve got a floor that looks like hardwood, but is easier to clean, more durable, and made to last.
Looking for more flooring help? Visit Carpet Exchange to explore products and guides for your next project.
This install wasn’t just about the floor. You built skills that carry over into future DIY wins. One room at a time, you’re making your space yours.
